Installer
Toolkit
for Impulse.
Everything an installer needs to configure, verify, and complete an Impulse cooktop installation — from countertop cutout specs to electrical requirements and step-by-step guidance.

Installation Type
Oven Underneath Impulse Installation
Paired setup for Impulse cooktop with a wall oven below. Covers combined load and clearance requirements.
Range Replacement
Retrofit configuration for replacing a freestanding gas or electric range with Impulse.
Standard In-Counter Installation
Drop-in configuration for standard countertop cutouts with no structural modifications required.
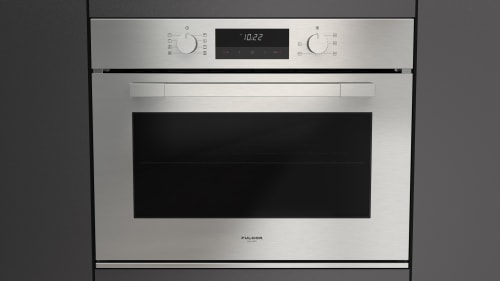
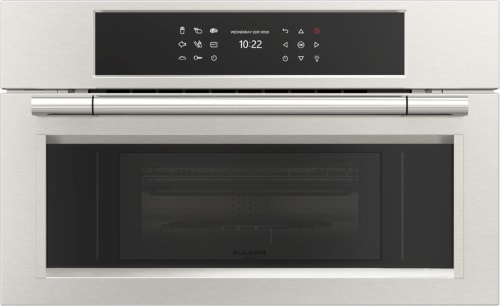
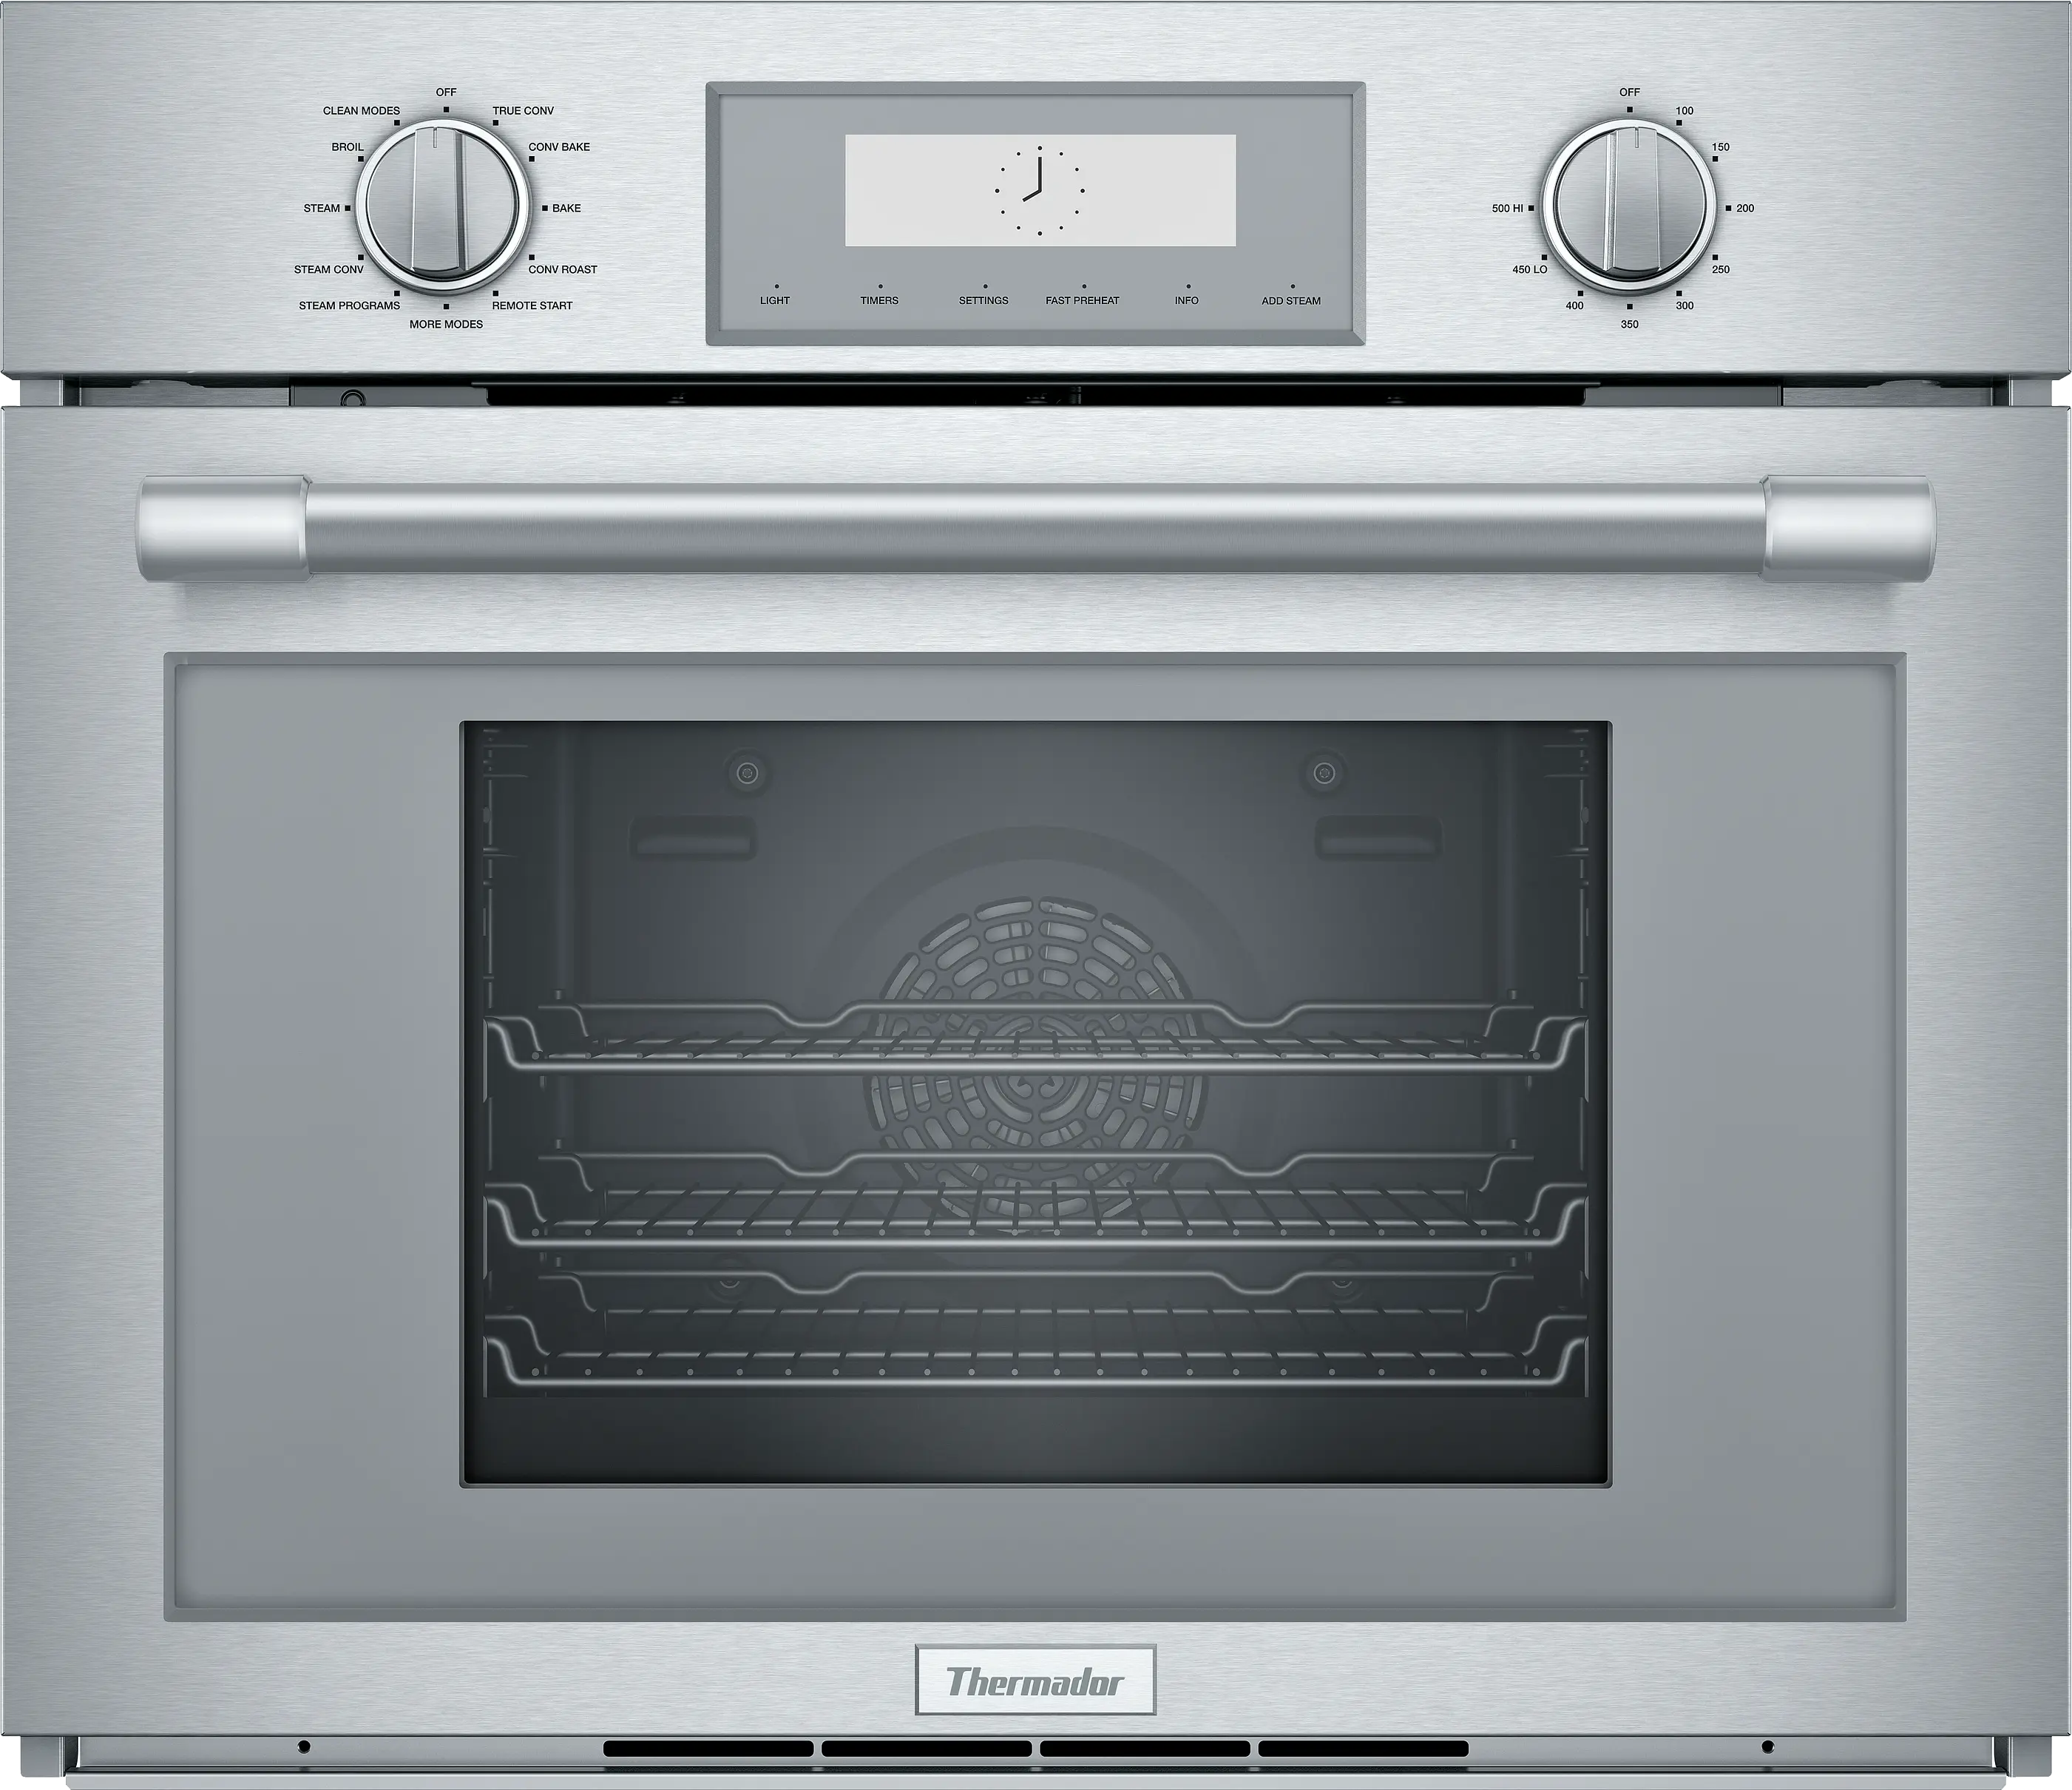
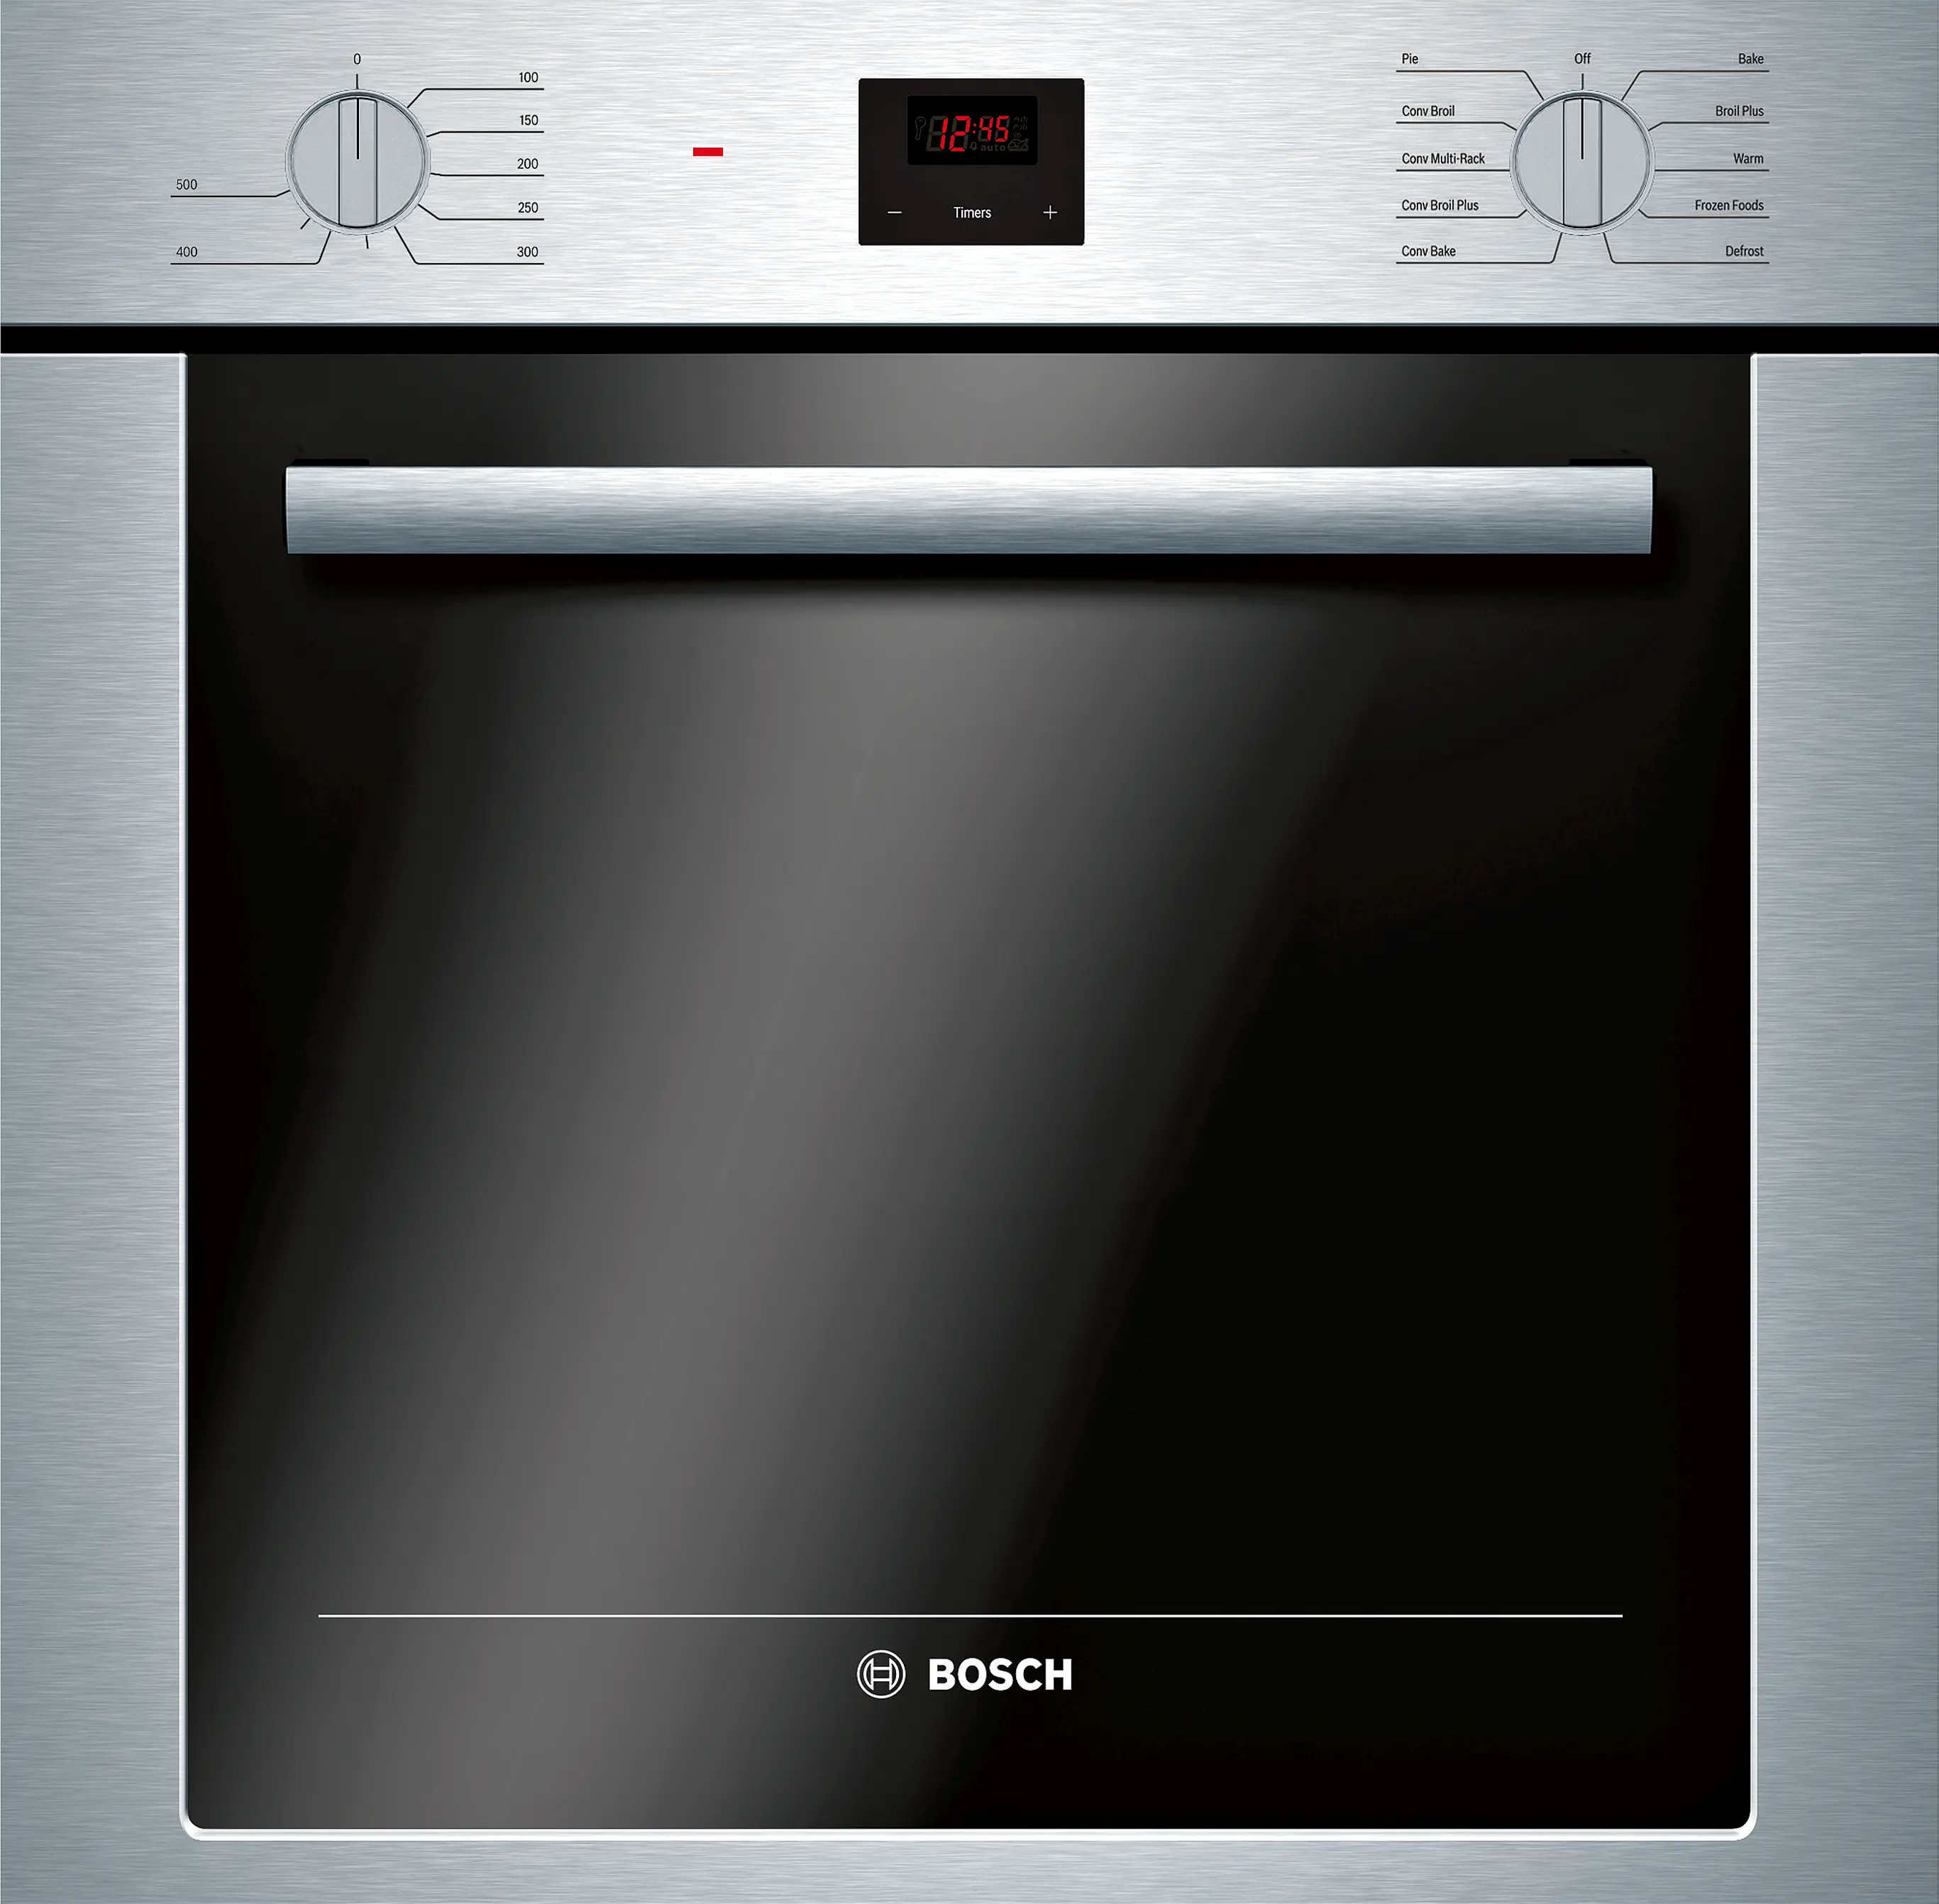
Stacking appliances
While we do not specifically endorse any 3rd party appliances for placement below the Impulse cooktop, we have provided the size requirements above and below, and we have done some homework to find what ovens fit the location.
34.5" cabinet box + 1.5" countertop
Installation Guidance — Important
If you are installing an oven in the counter beneath the Impulse Cooktop:
- Include a simple horizontal divider between the oven and the cooktop's battery compartment. This divider can be made from a heat-tolerant material such as sheet metal or foil-faced plywood. It helps create a clean separation between the two appliances and protect the cooktop from excessive oven heat. When positioning the barrier, leave as much space as possible between it and the bottom of the battery for airflow.
- Vent the cooktop out the back of the cabinet whenever possible. An oven installed below the cooktop limits the airflow in the cabinet, so it is important to create alternate ventilation options to maintain airflow to support consistent operating temperatures for both the cooktop and the battery. We recommend adding ventilation holes in the back of the cabinet immediately behind the cooktop. If that is not possible, consider adding ventilation at the back of the cooktop to allow warm air to flow up, through the counter.
Ovens that fit the cutout

Ovens — Where to shop
Appliance Wholesalers — 500+ options